Fold a Christmas storybook from one sheet
Fold and cut one sheet into eight pages, then fill the six inside pages with drawings or a small Christmas story.
One sheet of paper can become a small book with a front cover, six story pages and a back cover. Gather Letter or A4 paper, pencils or crayons and scissors for an adult to handle. Fold the book before drawing so you can see the reading order.
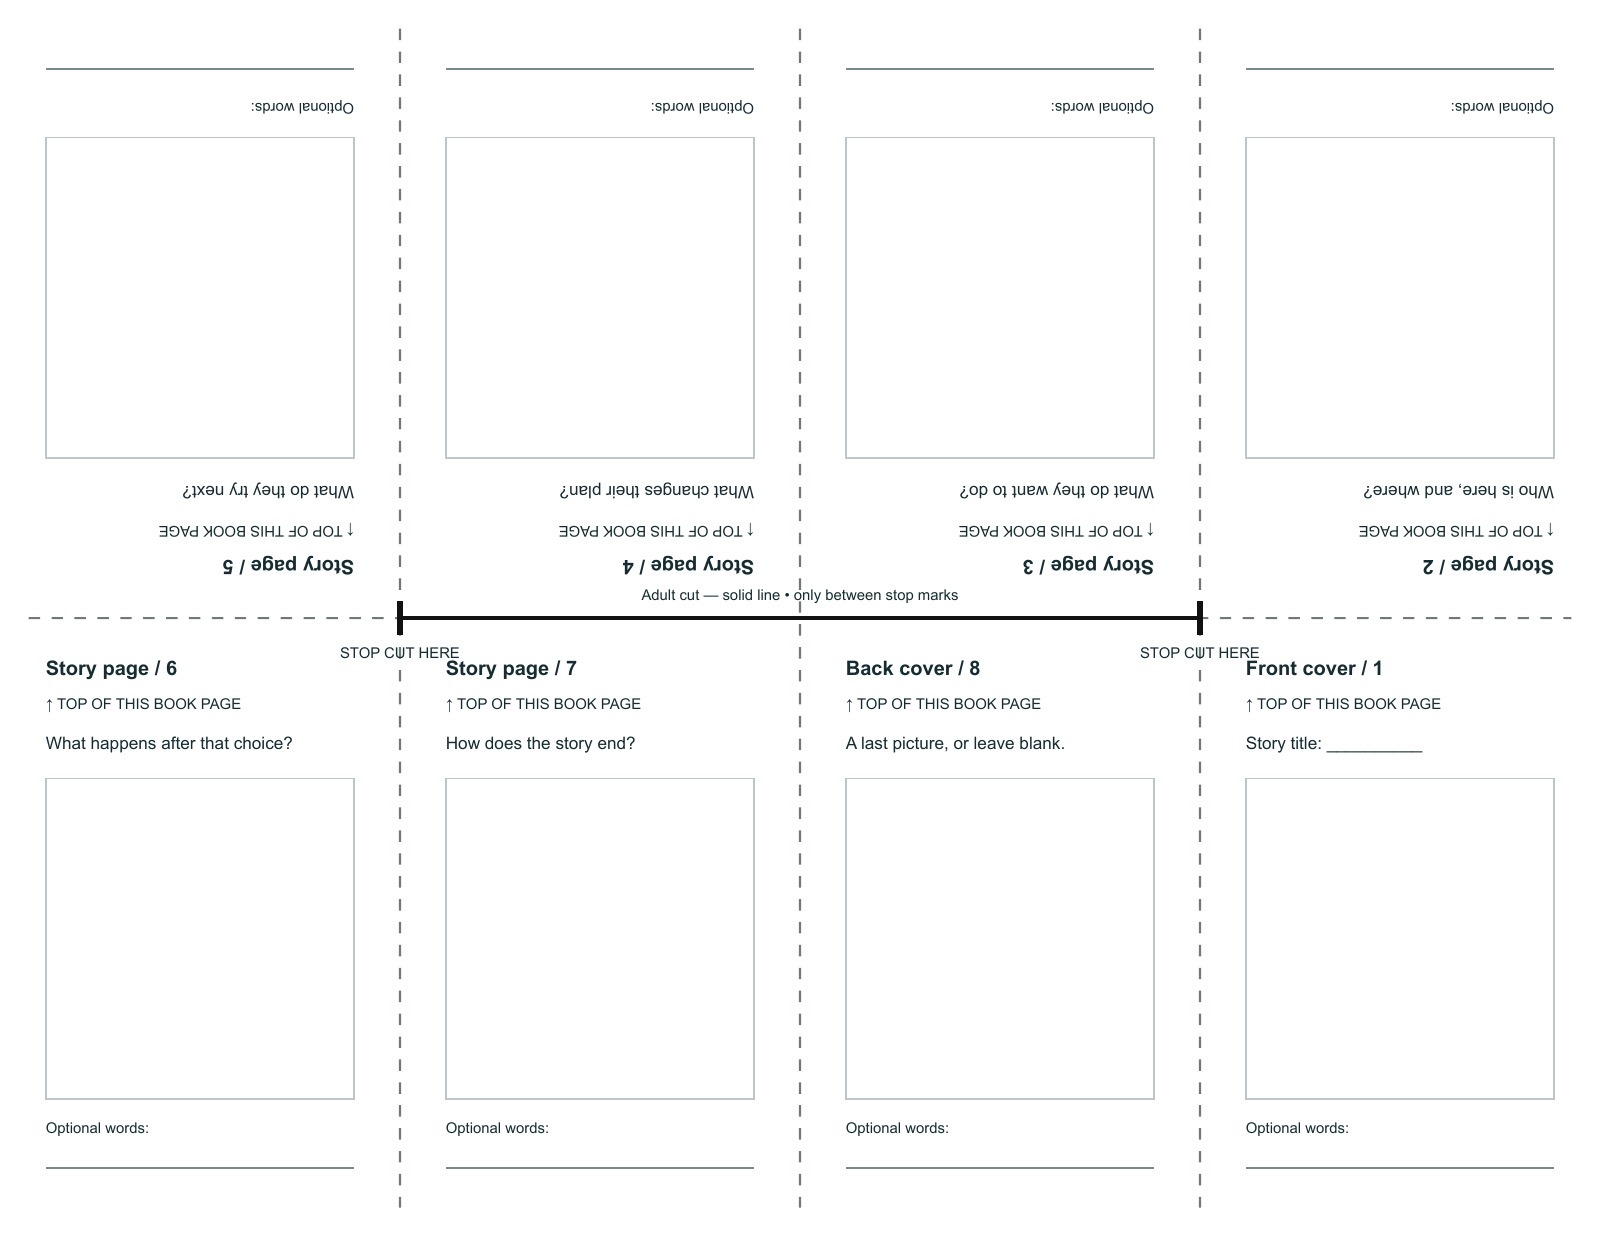
The template and text instructions include a marked central cut. For printing, choose Letter or A4 to match your paper, print on one side at actual size and check that the cut-stop marks are visible. Blank paper works too.
Template and reading order
Front cover → pages 2–7 → back cover
Fold eight panels and cut only the middle
Place the sheet horizontally, with its long edges at the top and bottom.
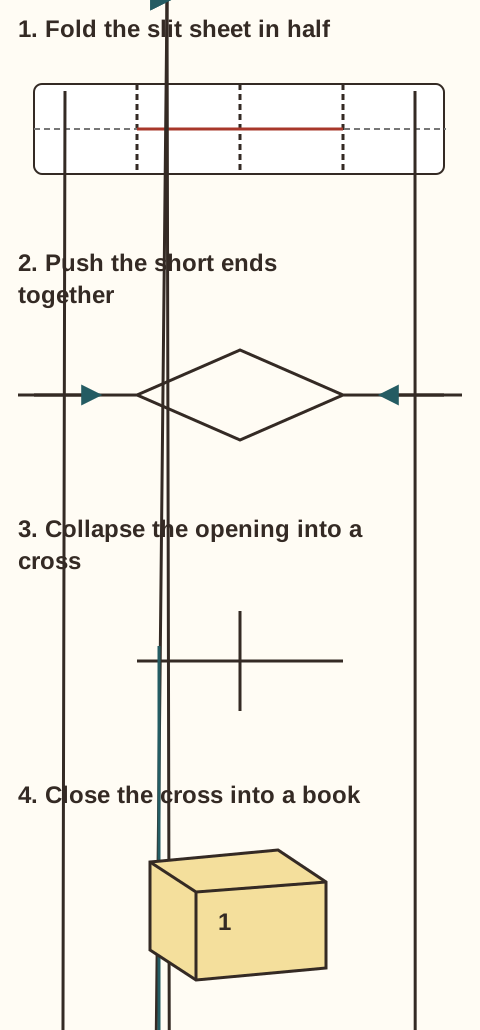
- Bring the left short edge to the right short edge and crease. Fold in half in the same direction again, then open the sheet. You have four equal columns.
- Bring the bottom long edge to the top long edge and crease. Open it. The four columns and two rows make eight panels.
- Find the horizontal middle crease. The cut runs across only its two middle columns, between the first and last inner vertical creases. Leave both outer columns joined.
- For scissors, fold the sheet so the short edges meet again. An adult cuts from the midpoint of the folded edge along the horizontal crease, stopping at the next vertical crease. Open it and check: the slit covers the middle half of the sheet, with both outer ends intact.
On the template, cut only the solid line between the stop marks. Dashed lines are folds. Do not cut the sheet all the way across or separate the panels.
Push the slit open, then close the book
Fold the long edges together, keeping the printed side outside. Hold the two short ends of this strip and push them gently toward each other. The slit opens like a diamond, then the paired panels meet like four arms of a cross. Fold those arms together into a book.
Check that the front cover is first, pages 2–7 follow and the back cover is last. If a label is upside down or out of order, reopen and rearrange before drawing. On blank paper, choose a front cover and number the assembled pages yourself.
If the strip stays flat, check that you made the central slit. If you cut all the way across, start with a fresh sheet. The National Literacy Trust’s mini-book instructions show this folding method.
Give the six inside pages a story
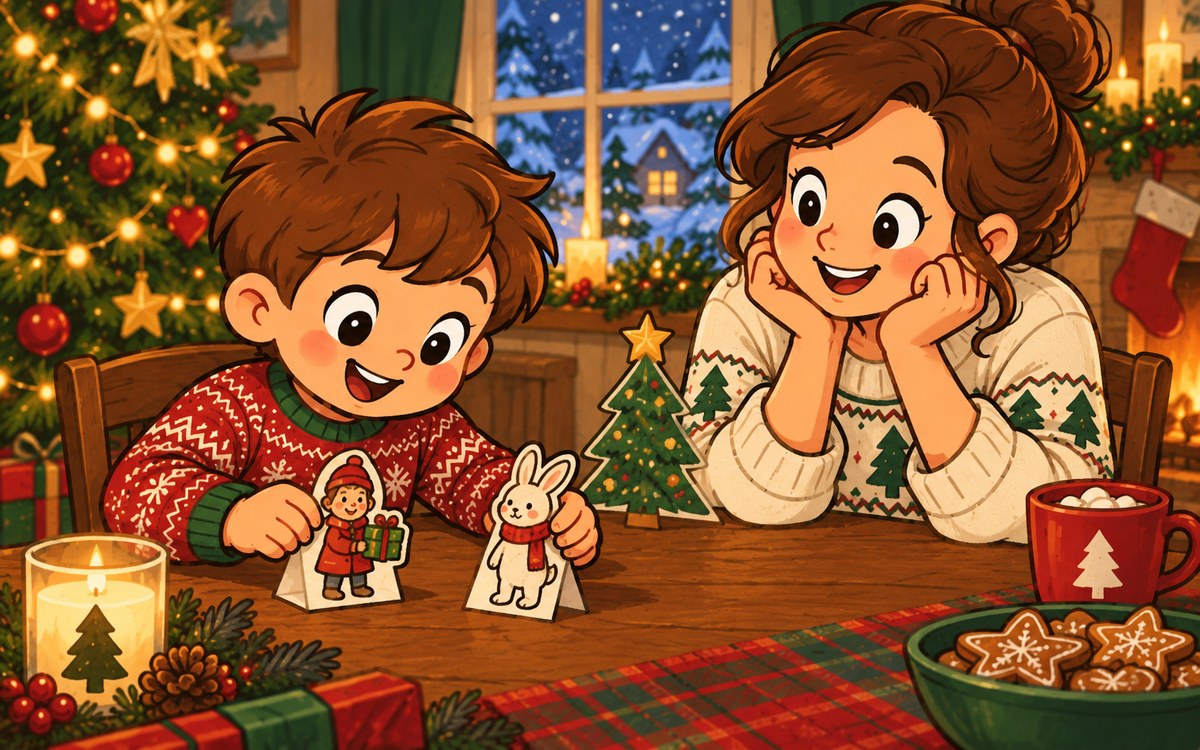
Your child can draw, write or dictate. One picture per page is enough. Here is a complete invented story to copy or change:
- Cover / 1: Rabbit’s Christmas Picture.
- 2: Rabbit sat beside the Christmas shelf with paper and a blue pencil.
- 3: Rabbit wanted to draw a little house under the moon.
- 4: A blue scribble landed beside the house.
- 5: Rabbit gave the scribble two ears and a scarf.
- 6: Now the house had a visitor. Rabbit drew a door for it to knock on.
- 7: Rabbit put the picture on the shelf. The unexpected visitor could stay.
- Back / 8: Draw the visitor waving, or leave this page blank.
Turn through the finished book together. Add anything your child feels is missing, then choose who hears it first. Without scissors, use several folded sheets as a different, loose booklet; this one-sheet version needs the central cut.